
italian sliders recipe

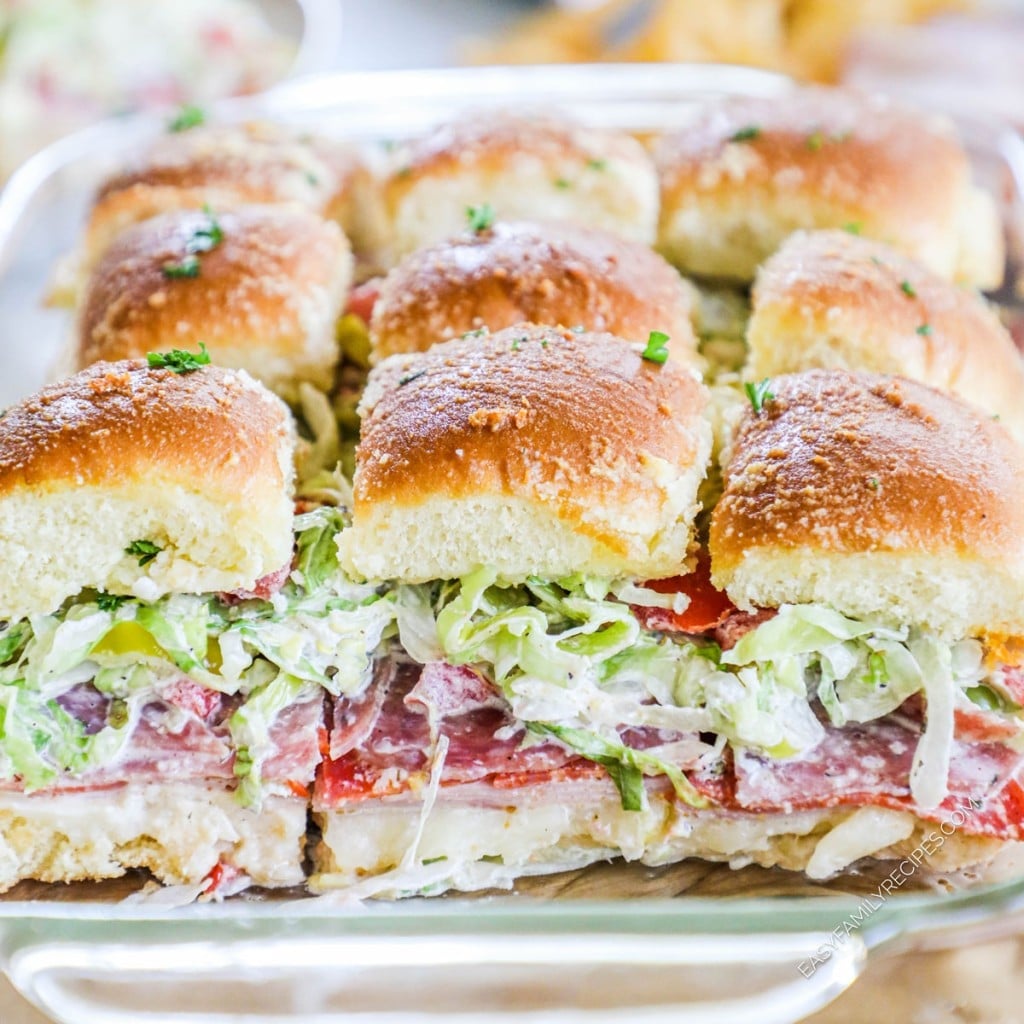
The Best italian sliders recipe
What I love most about this recipe is how versatile it is. You can make them ahead of time for a party, pack them in lunchboxes, or even freeze them for a last-minute meal. The ingredients are simple—ground beef, Italian seasoning, melted cheese, and soft slider buns—but the combination is always a hit. Plus, using lean ground beef and whole wheat buns makes them a little healthier without sacrificing taste. They’re filling enough to keep everyone happy but light enough that no one feels weighed down afterward. If you’re looking for a recipe that’s crowd-pleasing, easy to customize, and perfect for just about any occasion, these sliders are it.
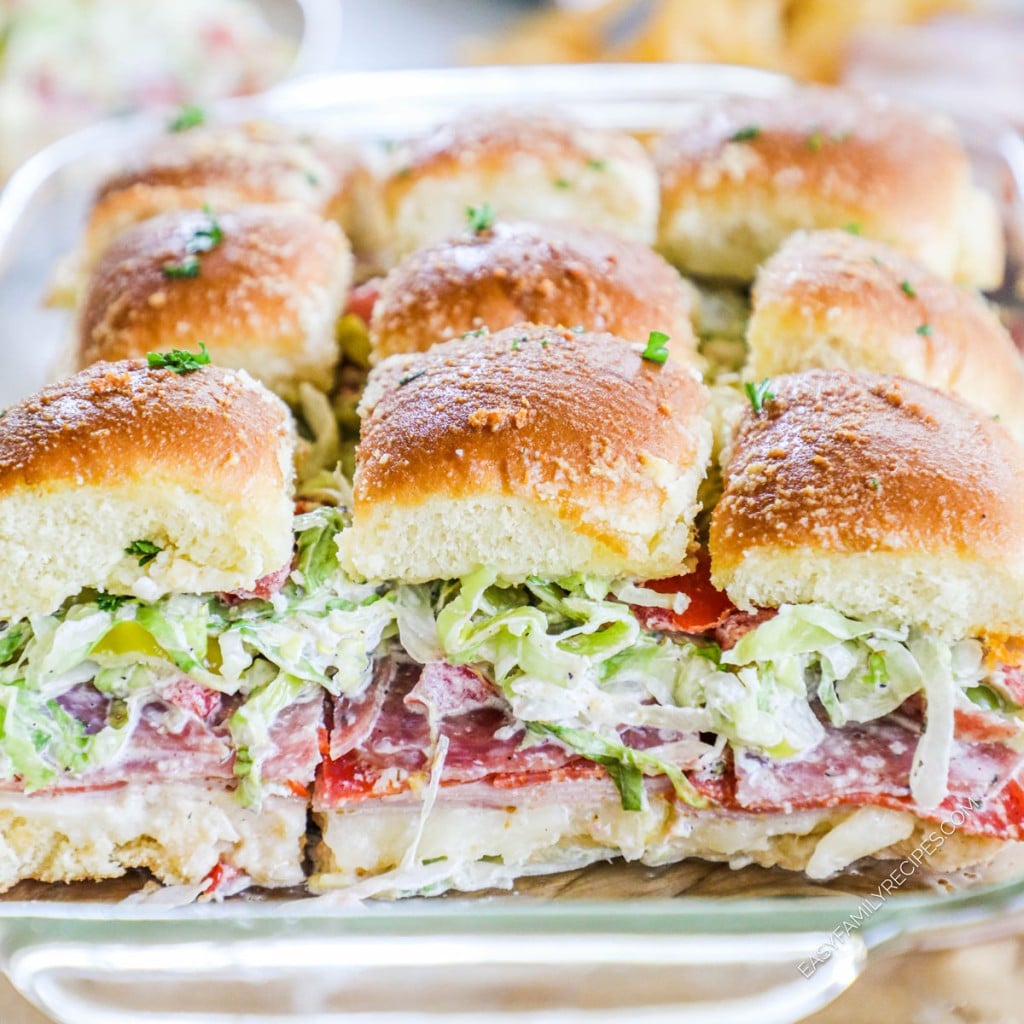
Italian Sliders with Garlic Butter
These delicious Italian sliders are packed with savory flavors, featuring tender Hawaiian rolls, melted mozzarella, and a rich garlic butter topping. Perfect for parties or a quick family meal.
🥘Ingredients
- 12 Hawaiian sweet rolls
- 12 slices pepperoni
- 12 slices salami
- 12 slices ham
- 12 slices mozzarella cheese
- 1/4 cup grated Parmesan cheese
- 1/2 cup unsalted butter, melted
- 2 cloves garlic, minced
- 1 tbsp Italian seasoning
- 1 tsp dried parsley
- 1/2 tsp onion powder
- 1/4 tsp salt
- 1/4 cup marinara sauce (for dipping)
- Fresh basil leaves (for garnish)
👨🍳Directions
-
1
Preheat your oven to 350°F (175°C) and grease a 9×13-inch baking dish. -
2
Slice the Hawaiian rolls in half horizontally, keeping them connected so the top and bottom halves stay intact. Place the bottom half in the baking dish. -
3
Layer the pepperoni, salami, ham, and mozzarella cheese evenly over the bottom half of the rolls. -
4
Place the top half of the rolls back on and set aside. -
5
In a small bowl, mix the melted butter, minced garlic, Italian seasoning, dried parsley, onion powder, and salt. -
6
Brush the garlic butter mixture evenly over the top of the rolls, making sure to coat them well. -
7
Sprinkle the grated Parmesan cheese over the top of the rolls. -
8
Bake in the preheated oven for 15-20 minutes, or until the cheese is melted and the rolls are golden brown. -
9
Remove from the oven and let cool for 2-3 minutes before slicing into individual sliders. -
10
Garnish with fresh basil leaves and serve with marinara sauce for dipping if desired.
🔧Equipment
- 9×13-inch baking dish
- Mixing bowl
- Pastry brush
- Knife
- Cutting board
📊Nutrition Facts (per serving)
📝Notes
Watch Video Of How Italian Sliders with Garlic Butter Works
❓ Frequently Asked Questions About Italian Sliders with Garlic Butter
1. What are Italian sliders made of?
Italian sliders are small, flavorful sandwiches typically made with soft slider buns, thinly sliced deli meats (like prosciutto, salami, or capicola), provolone or mozzarella cheese, and fresh toppings such as arugula, tomato, and roasted red peppers. They’re often brushed with garlic butter or drizzled with balsamic glaze for extra flavor.
2. Can I make Italian sliders ahead of time?
Yes! Italian sliders can be assembled ahead of time and refrigerated for up to 24 hours before baking. Cover them tightly with foil or plastic wrap to prevent drying out. When ready to serve, bake as directed—just add a few extra minutes if they’re cold from the fridge.
3. What’s the best way to keep sliders from getting soggy?
To prevent sogginess, lightly toast the slider buns before assembling or brush them with garlic butter before adding wet ingredients like tomatoes or roasted peppers. You can also layer meats and cheeses directly on the bottom bun and place toppings on the top bun to minimize moisture contact.
4. Can I use different meats or cheeses in Italian sliders?
Absolutely! Italian sliders are versatile—swap in your favorite deli meats like mortadella, ham, or even grilled chicken. For cheese, try fontina, asiago, or pepper jack for a twist. Vegetarian? Use grilled eggplant, roasted zucchini, or marinated artichokes instead of meat.
5. How do I reheat leftover Italian sliders?
To reheat, wrap sliders in foil and warm in a 350°F (175°C) oven for 10–15 minutes until heated through. Avoid the microwave, as it can make the buns soggy. For crispiness, unwrap the foil for the last 2–3 minutes of reheating.