
arm roast recipe

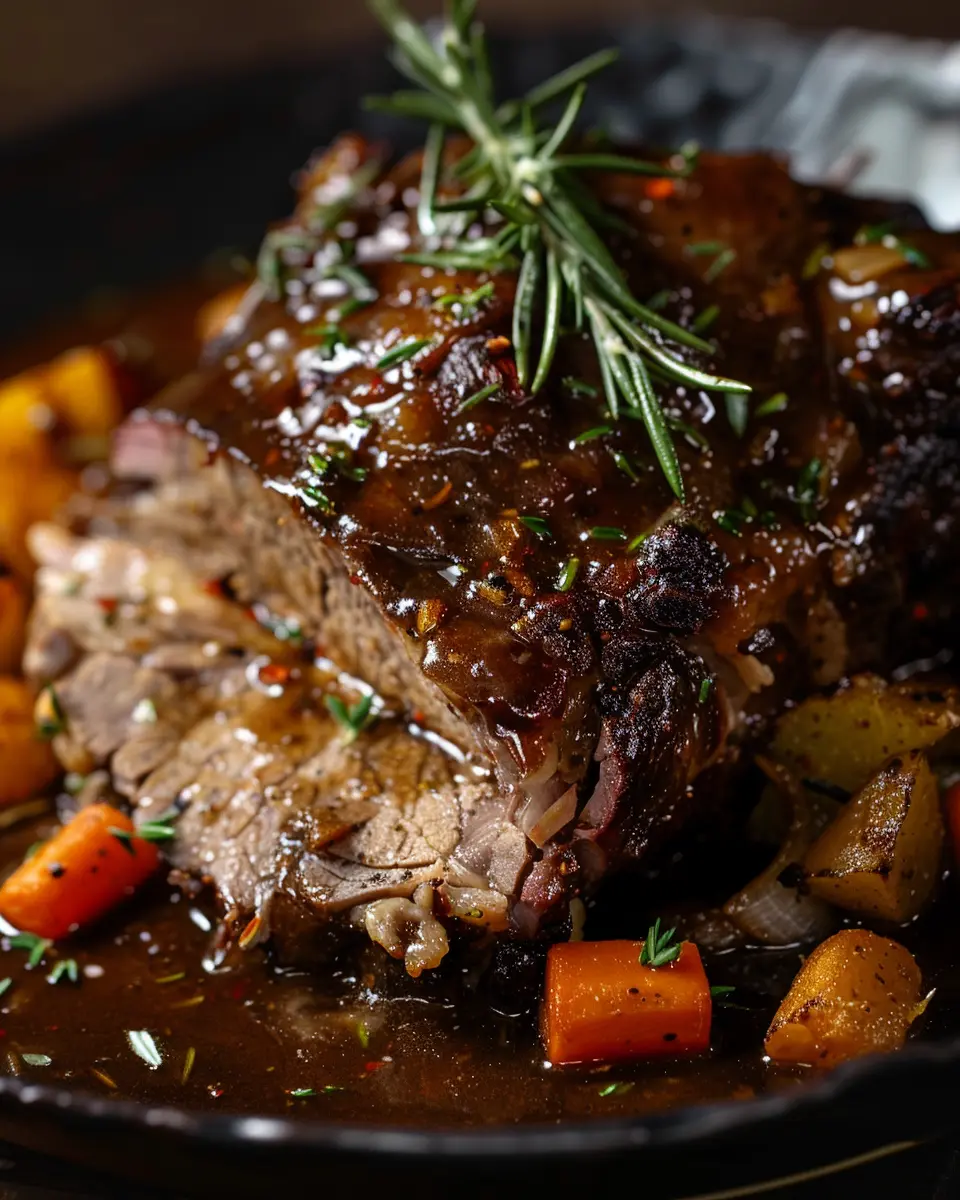
The Best arm roast recipe
What I love most about this recipe is how versatile it is. You can slow-cook it for a melt-in-your-mouth texture or sear it first for a deeper flavor. Plus, it’s packed with protein and nutrients, so I feel good serving it to my family. It reheats well too, which means leftovers are just as good the next day. Whether it’s a Sunday supper or a busy Wednesday, this arm roast always hits the spot.
Classic Braised Arm Roast with Vegetables
A tender and flavorful arm roast slow-cooked with aromatic vegetables and herbs. This hearty dish is perfect for a comforting family meal and pairs well with mashed potatoes or crusty bread.
🥘Ingredients
- 3 lbs arm roast (beef chuck arm)
- 2 tbsp olive oil
- 1 tsp salt
- 1 tsp black pepper
- 1 tsp garlic powder
- 1 tsp onion powder
- 1 tsp smoked paprika
- 1 large onion, chopped
- 3 carrots, peeled and sliced
- 3 celery stalks, chopped
- 4 garlic cloves, minced
- 2 cups beef broth (low-sodium preferred)
- 1 cup red wine (optional, substitute with extra broth)
- 2 tbsp tomato paste
- 2 sprigs fresh thyme
- 2 sprigs fresh rosemary
- 2 bay leaves
- 1 tbsp Worcestershire sauce
👨🍳Directions
-
1
Preheat your oven to 325°F (165°C). -
2
Pat the arm roast dry with paper towels and season generously with salt, black pepper, garlic powder, onion powder, and smoked paprika on all sides. -
3
Heat olive oil in a large Dutch oven over medium-high heat. Once hot, sear the roast on all sides until deeply browned, about 4-5 minutes per side. Remove the roast and set it aside on a plate. -
4
In the same pot, add the chopped onion, carrots, and celery. Cook for 5-6 minutes, stirring occasionally, until the vegetables begin to soften. Add the minced garlic and cook for another 1 minute. -
5
Stir in the tomato paste and cook for 1 minute to deepen its flavor. Pour in the red wine (if using) and scrape up any browned bits from the bottom of the pot. Let the wine reduce by half, about 2-3 minutes. -
6
Add the beef broth, Worcestershire sauce, thyme, rosemary, and bay leaves to the pot. Stir to combine. -
7
Return the seared roast to the pot, along with any accumulated juices. The liquid should come about halfway up the roast. Bring the liquid to a simmer. -
8
Cover the pot with a lid and transfer it to the preheated oven. Braise for 2.5 to 3 hours, or until the roast is fork-tender and easily pulls apart. -
9
Carefully remove the roast from the pot and transfer it to a cutting board. Let it rest for 10 minutes before slicing or shredding. -
10
Strain the braising liquid through a fine-mesh sieve into a bowl, discarding the solids. Skim off any excess fat from the surface of the liquid. Return the liquid to the pot and simmer over medium heat for 5-10 minutes to thicken slightly, if desired. -
11
Serve the sliced or shredded roast with the braising liquid and vegetables over mashed potatoes, polenta, or crusty bread.
🔧Equipment
- Large Dutch oven or heavy pot with lid
- Tongs
- Cutting board
- Chef’s knife
- Measuring spoons
- Wooden spoon
📊Nutrition Facts (per serving)
📝Notes
Watch Video Of How Classic Braised Arm Roast with Vegetables Works
❓ Frequently Asked Questions About Braised Arm Roast with Vegetables
1. What is an arm roast, and how is it different from other cuts?
An arm roast, also known as a chuck arm roast, comes from the shoulder (chuck) section of the cow. It’s a well-marbled, flavorful cut that’s more tender than a chuck roast but less expensive than ribeye or tenderloin. Unlike a chuck roast, which is typically cut into larger pieces, an arm roast is often sold as a single, cylindrical portion, making it ideal for slow cooking, braising, or pot roasting.
2. What’s the best way to cook an arm roast for maximum tenderness?
The best methods for cooking an arm roast are slow and moist heat techniques, such as braising, pot roasting, or using a slow cooker. Sear the roast first to develop flavor, then cook it low and slow (around 300–325°F or 150–160°C) in liquid (broth, wine, or sauce) for 2–3 hours until fork-tender. Avoid high-heat methods like grilling, as they can make the meat tough.
3. Can I use an arm roast for pulled beef or shredded beef recipes?
Yes! An arm roast is an excellent choice for pulled or shredded beef because of its rich marbling and connective tissue, which break down beautifully during long cooking. After braising or slow cooking, the meat will shred easily and absorb flavors well, making it perfect for tacos, sandwiches, or stews.
4. How do I know when my arm roast is done cooking?
An arm roast is done when it reaches an internal temperature of 195–205°F (90–96°C) and the meat shreds easily with a fork. Unlike leaner cuts, it’s not about rare or medium-rare—this cut benefits from extended cooking to tenderize the collagen. Use a meat thermometer to check doneness, and let it rest for 10–15 minutes before slicing or shredding.
5. Can I freeze an arm roast before or after cooking?
Yes, you can freeze an arm roast both before and after cooking. For raw roasts, wrap tightly in plastic wrap and foil, then store in a freezer bag for up to 6–12 months. For cooked leftovers, cool the meat completely, portion it, and freeze in airtight containers for 2–3 months. Thaw in the fridge overnight before reheating or cooking.