
elderberry jelly recipe

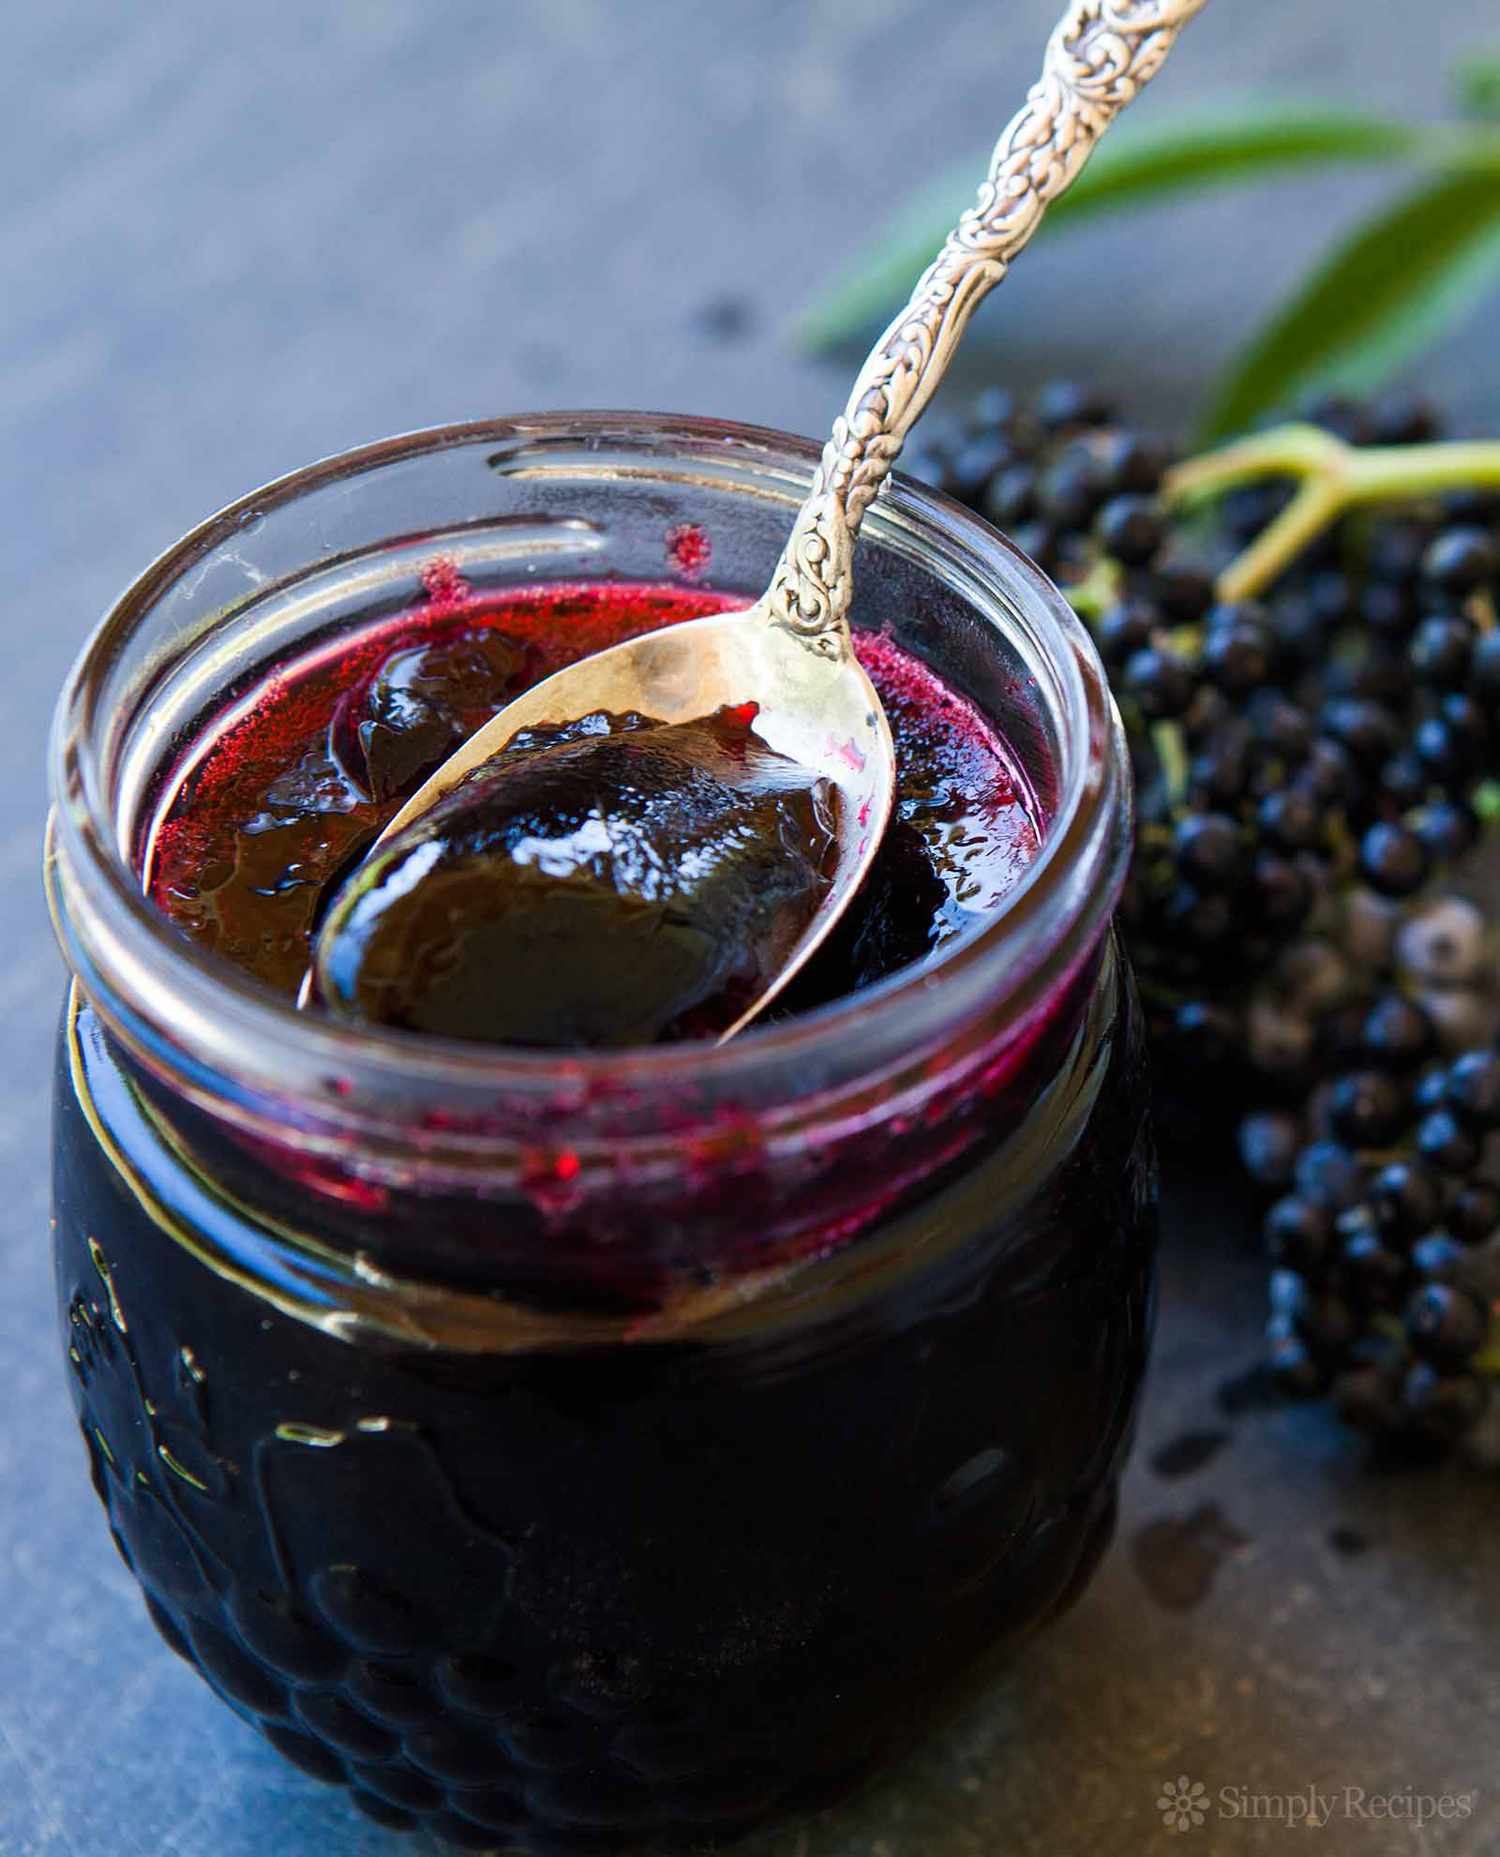
The Best elderberry jelly recipe
What I love most about this recipe is how easy it is to make, even if you’re not an experienced canner. Elderberries are packed with antioxidants and vitamin C, so it’s not just tasty—it’s good for you too. I like to think of it as a little immune boost in every bite, especially during cold and flu season. Plus, it’s a great way to use up fresh or frozen elderberries if you’re lucky enough to have them. The jelly sets up perfectly every time, and the color is just gorgeous—deep purple and glossy. It’s one of those recipes that never lets me down.
:max_bytes(150000):strip_icc()/__opt__aboutcom__coeus__resources__content_migration__simply_recipes__uploads__2009__08__elderberry-jelly-vertical-a-1600-812399ca60f24e8e9d80b92bb470ccb5.jpg)
Elderberry Jelly
A sweet and tangy homemade jelly made from fresh elderberries, perfect for spreading on toast or pairing with cheese. This recipe captures the rich, deep flavor of elderberries with a smooth, glossy finish.
🥘Ingredients
- 4 cups fresh elderberries (or 2 cups dried)
- 2 cups water
- 1 cinnamon stick (optional)
- 1 star anise (optional)
- 3 cups elderberry juice (strained)
- 3 cups granulated sugar
- 1/4 cup lemon juice
- 1 pouch (3 oz) liquid pectin
👨🍳Directions
-
1
Prepare the elderberries: Rinse fresh elderberries under cold water to remove any debris. Remove stems and leaves if present. -
2
Simmer the berries: In a large pot, combine elderberries, water, and optional spices (cinnamon stick and star anise). Bring to a boil, then reduce heat and simmer for 15-20 minutes, mashing the berries occasionally with a wooden spoon. -
3
Strain the juice: Pour the mixture through a fine-mesh strainer or cheesecloth-lined colander into a bowl. Press gently to extract all the juice, but avoid squeezing the pulp to prevent bitterness. Discard the solids. You should have about 3 cups of juice. -
4
Combine ingredients: In a large saucepan, mix the elderberry juice, sugar, and lemon juice. Stir well to dissolve the sugar. -
5
Cook the jelly: Place the saucepan over high heat and bring to a full rolling boil that cannot be stirred down. Stir in the liquid pectin and return to a full boil for 1 minute, stirring constantly. -
6
Test for doneness: Use a jelly or candy thermometer to check if the mixture has reached 220°F (104°C). Alternatively, perform a plate test: Drop a small amount of jelly onto a chilled plate; if it wrinkles when pushed with a finger, it’s ready. -
7
Jar the jelly: Remove from heat and skim off any foam. Ladle the hot jelly into sterilized jars, leaving 1/4-inch headspace. Seal with lids and rings. -
8
Process the jars: For long-term storage, process the jars in a boiling water bath for 10 minutes. Remove and let cool completely on a wire rack. Check seals before storing. -
9
Set and store: Allow the jelly to set at room temperature for 24 hours. Store in a cool, dark place for up to 1 year or refrigerate after opening for up to 3 months.
🔧Equipment
- Large pot
- Fine-mesh strainer or cheesecloth
- Jelly or candy thermometer
- 4 sterilized 8-oz jars with lids
- Large saucepan
- Wooden spoon
- Measuring cups and spoons
📊Nutrition Facts (per serving)
📝Notes
Watch Video Of How Elderberry Jelly Works
❓ Frequently Asked Questions About Elderberry Jelly
1. Can I use fresh elderberries instead of dried for the jelly?
Yes, you can use fresh elderberries, but you’ll need to adjust the recipe slightly. Fresh elderberries contain more water, so you may need to simmer them longer to extract enough juice. Typically, use about 4 cups of fresh elderberries (or 2 cups of dried) for a standard batch. Strain the juice carefully to remove seeds and skins, as they can make the jelly bitter.
2. Why did my elderberry jelly not set properly?
A weak set in elderberry jelly is usually due to incorrect pectin levels or improper boiling. Elderberries are naturally low in pectin, so adding commercial pectin (like Sure-Jell or Pomona’s) helps. If you skip pectin, you’ll need to boil the juice longer (20–30 minutes) and test for doneness with the “wrinkle test” (chill a spoonful on a plate—if it wrinkles when pushed, it’s ready). Overcooking can also break down pectin, so monitor the temperature (220°F/105°C is ideal).
3. How long does homemade elderberry jelly last?
Properly canned elderberry jelly can last 12–18 months when stored in a cool, dark place. Once opened, refrigerate and consume within 3–4 weeks. For best quality, use sterilized jars and process in a water bath for 10 minutes (adjust for altitude). If mold appears or the jelly smells off, discard it immediately.
4. Can I reduce the sugar in elderberry jelly?
Yes, but sugar acts as a preservative and helps with setting. If reducing sugar, use a low-sugar pectin (like Pomona’s) and follow its instructions. Alternatively, replace some sugar with honey or a sugar substitute (like erythritol), but the texture and shelf life may differ. For a no-sugar version, consider freezing the jelly instead of canning.
5. What can I do with leftover elderberry pulp after straining?
The strained pulp can be repurposed! Mix it with applesauce or yogurt for a tangy spread, or bake it into muffins or pancakes. For a savory twist, add it to barbecue sauce or glaze for meats. If you prefer to discard it, compost it—just avoid feeding it to pets, as raw elderberries can be toxic.