not your mama’s banana pudding recipe

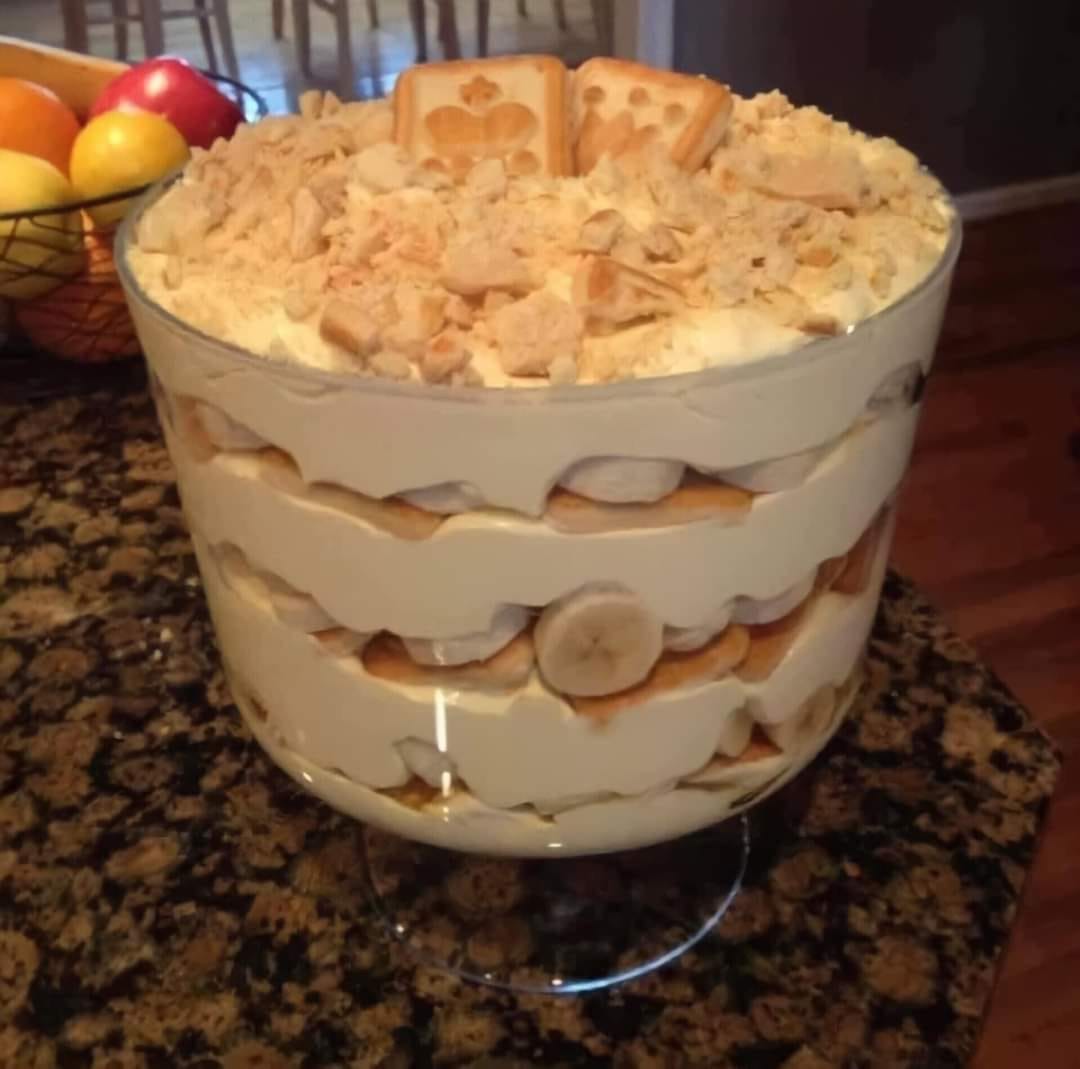
The Best not your mama’s banana pudding recipe
What I love most is how adaptable it is. You can make it lighter with Greek yogurt or keep it classic with homemade custard. The fresh bananas add natural sweetness, and if you use whole-grain cookies or a touch of honey, it’s even a little healthier than the traditional version. It’s rich enough to feel like a treat but simple enough to throw together after dinner. Plus, my husband always says it’s the one dessert he’ll never turn down—high praise in this house.
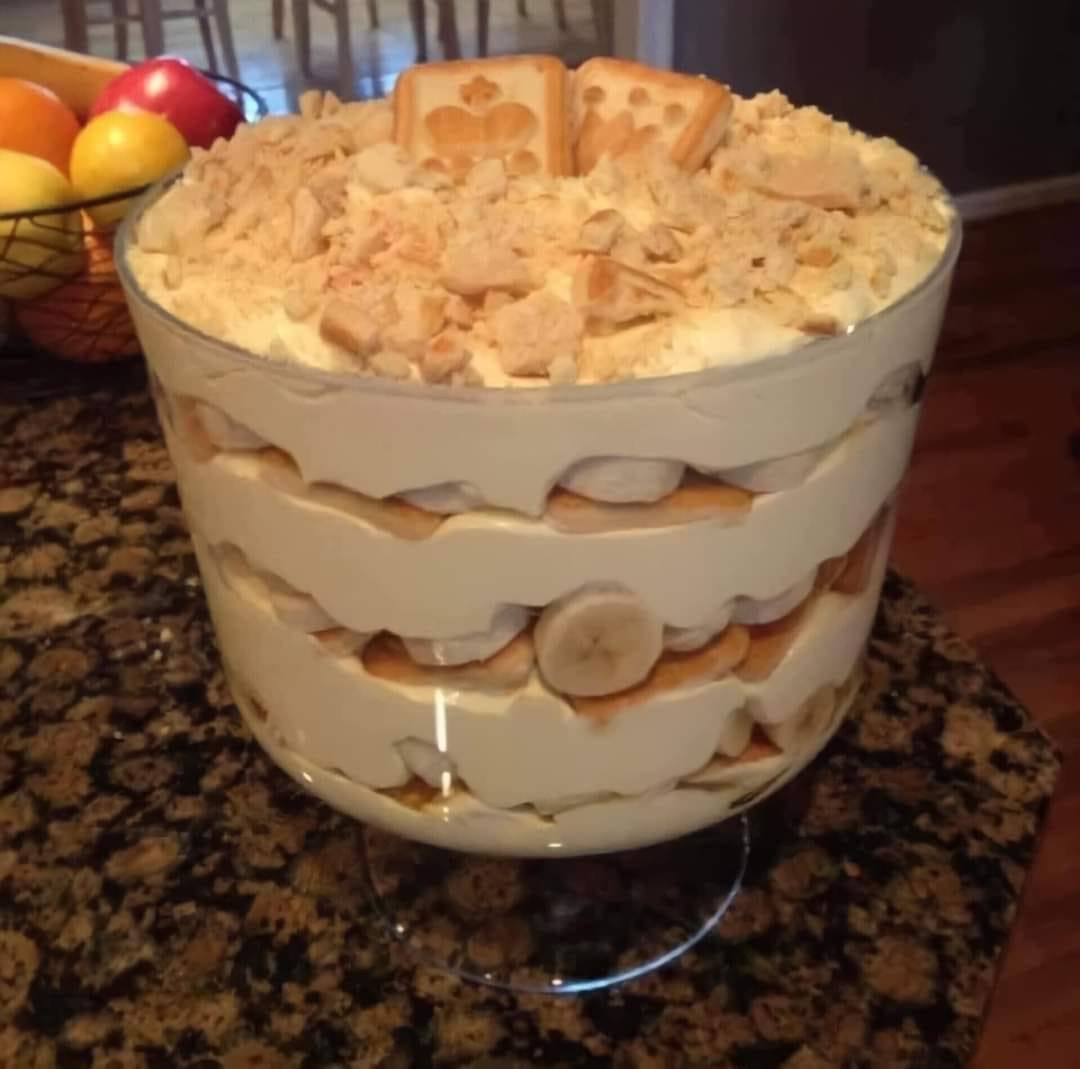
Not Your Mama’s Banana Pudding
A modern twist on the classic Southern dessert, featuring layers of homemade vanilla wafer cookies, fresh bananas, and a rich, creamy custard. Topped with toasted meringue for an elegant finish.
🥘Ingredients
- 1 ½ cups all-purpose flour
- ½ cup granulated sugar
- ½ tsp baking powder
- ¼ tsp salt
- ½ cup unsalted butter, cold and cubed
- 1 large egg
- 1 tsp vanilla extract
- 1 tbsp whole milk
- 4 cups whole milk
- ¾ cup granulated sugar
- ¼ cup cornstarch
- ¼ tsp salt
- 4 large egg yolks
- 2 tbsp unsalted butter
- 1 tbsp vanilla extract
- 4 ripe bananas, sliced
- 1 tbsp lemon juice (to prevent browning)
- 4 large egg whites
- ½ tsp cream of tartar
- ½ cup granulated sugar
- ½ tsp vanilla extract
👨🍳Directions
-
1
Preheat oven to 350°F (175°C). Line a baking sheet with parchment paper. -
2
Make the vanilla wafer cookies: In a food processor, combine flour, sugar, baking powder, and salt. Pulse to mix. Add cold butter and pulse until mixture resembles coarse crumbs. -
3
Add egg, vanilla, and milk. Pulse until dough comes together. Roll dough into 1-inch balls and place on prepared baking sheet. Flatten slightly with a fork. -
4
Bake for 12-15 minutes or until edges are golden. Let cool completely. -
5
Make the custard: In a saucepan, heat milk over medium heat until steaming (do not boil). -
6
In a medium bowl, whisk sugar, cornstarch, and salt. Add egg yolks and whisk until smooth. -
7
Slowly pour hot milk into the egg mixture while whisking constantly. Return mixture to the saucepan and cook over medium heat, stirring constantly, until thickened (about 5-7 minutes). -
8
Remove from heat and stir in butter and vanilla. Cover with plastic wrap (directly on the surface) and let cool to room temperature. -
9
Assemble the pudding: Toss banana slices with lemon juice. Layer half the cookies in a 9×13-inch dish, followed by half the bananas and half the custard. Repeat layers. -
10
Make the meringue: Beat egg whites and cream of tartar with an electric mixer until soft peaks form. Gradually add sugar and vanilla, beating until stiff peaks form. -
11
Spread meringue over the pudding, sealing edges. Use a torch to toast the meringue or broil for 1-2 minutes until golden (watch closely). -
12
Chill for at least 4 hours (or overnight) before serving.
🔧Equipment
- Mixing bowls
- Whisk
- Rolling pin
- Baking sheet
- Parchment paper
- Saucepan
- Medium bowl
- Electric mixer
- 9×13-inch baking dish
- Oven
📊Nutrition Facts (per serving)
📝Notes
Watch Video Of How Not Your Mama’s Banana Pudding Works
❓ Frequently Asked Questions About Not Your Mama’s Banana Pudding
1. What makes “Not Your Mama’s Banana Pudding” different from traditional recipes?
This recipe puts a modern twist on classic banana pudding by incorporating unique ingredients like vanilla bean paste, brown sugar, and a hint of cinnamon in the custard. It also uses fresh whipped cream instead of Cool Whip and layers homemade vanilla wafers for extra crunch and flavor. The caramelized bananas add a rich, deep sweetness that sets it apart from the traditional version.
2. Can I make this recipe ahead of time?
Yes! This banana pudding actually tastes better the next day as the flavors have more time to meld together. You can assemble it up to 24 hours in advance and store it in the refrigerator. Just wait to add the whipped cream topping until right before serving to keep it light and fluffy.
3. Can I use store-bought vanilla wafers instead of homemade?
Absolutely! While homemade vanilla wafers add a special touch, you can substitute high-quality store-bought ones to save time. Look for a brand with a buttery, crisp texture and a strong vanilla flavor, like Anna’s or Mi-Del. If you want to elevate store-bought wafers, lightly toast them in the oven for a few minutes to enhance their flavor.
4. What’s the best way to caramelize the bananas for this recipe?
To caramelize the bananas, slice them evenly and cook them in a skillet over medium heat with a mix of butter, brown sugar, and a pinch of salt. Let them cook undisturbed for 2-3 minutes until they develop a golden-brown crust, then gently flip and cook for another 1-2 minutes. Avoid stirring too much to prevent them from breaking apart. The key is to let them caramelize without burning.
5. Can I make this recipe gluten-free or dairy-free?
Yes, with a few adjustments! For a gluten-free version, use gluten-free vanilla wafers or make your own with almond flour. For a dairy-free version, substitute the butter with coconut oil or vegan butter, use coconut milk or almond milk in the custard, and replace the heavy cream with coconut cream for the whipped topping. Just ensure all your ingredients are certified gluten-free or dairy-free to avoid cross-contamination.