
recipe sugar skulls

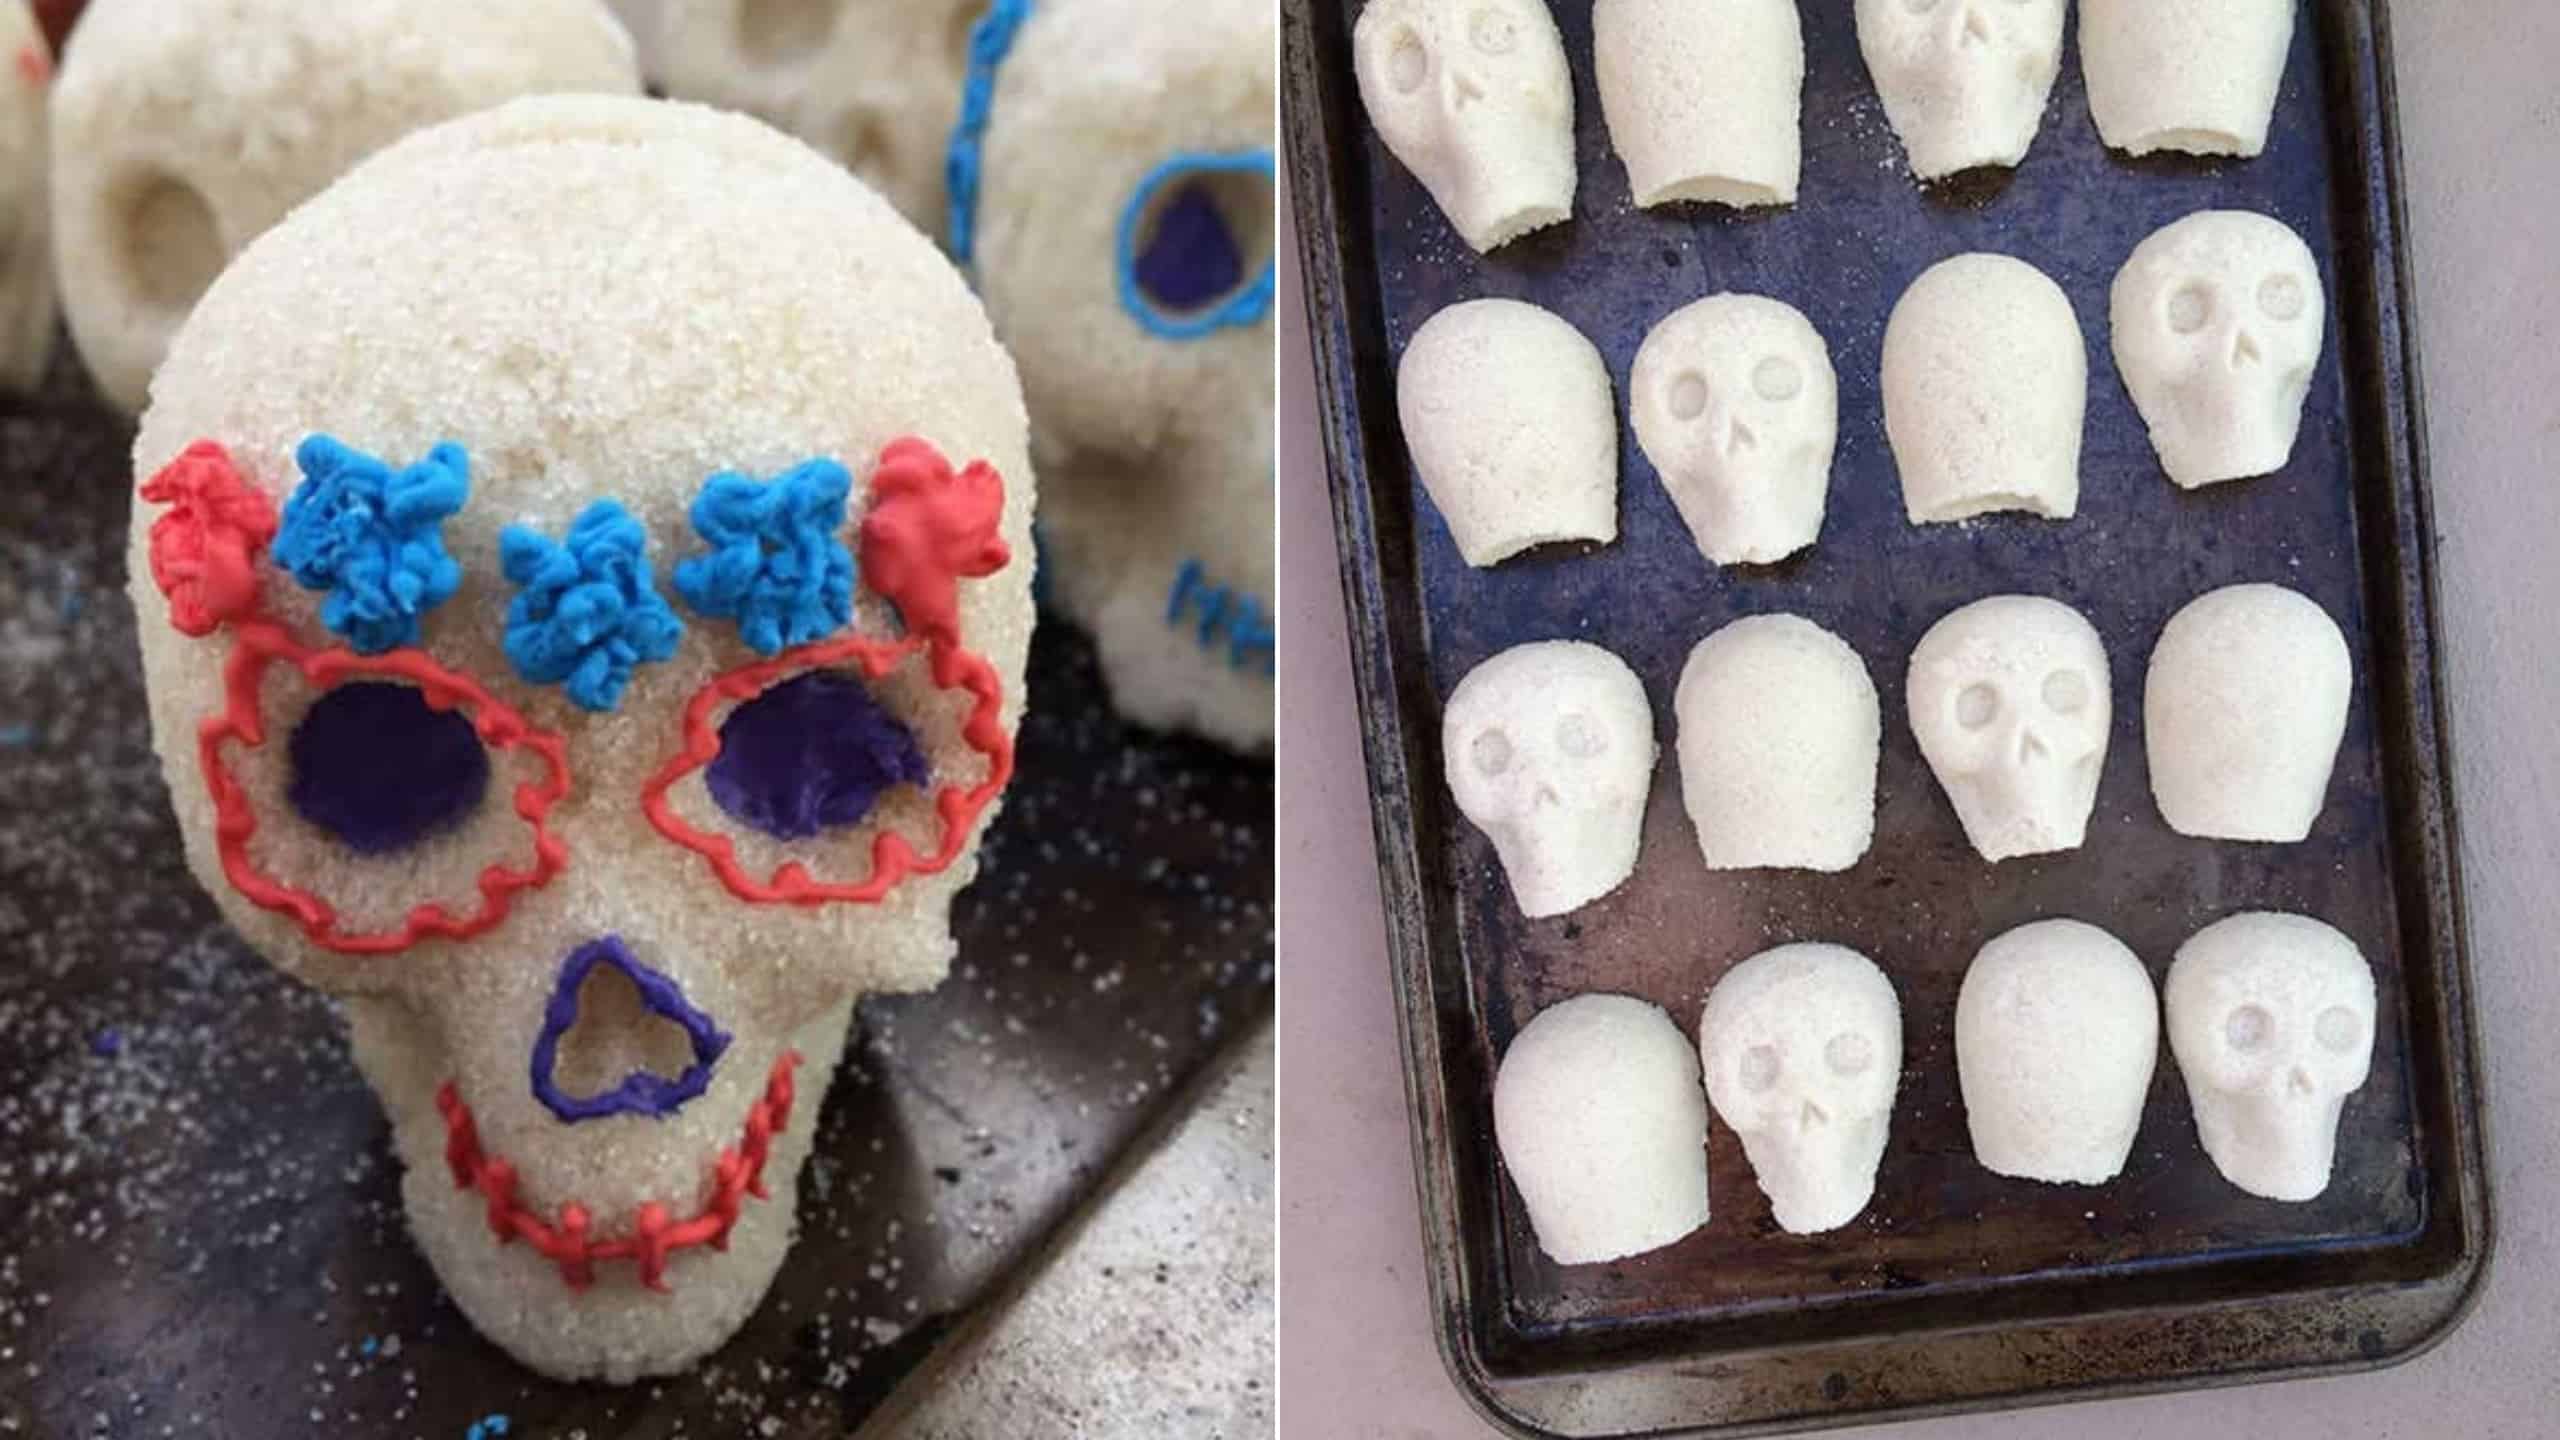
The Best recipe sugar skulls
What I appreciate most about this recipe is how versatile it is. You can make them for holidays, birthdays, or just because—no fancy occasion needed. Plus, since they’re made with sugar and a bit of egg white, they’re a lighter treat compared to heavy cakes or cookies. The kids can decorate them however they want, which keeps them engaged, and the best part? They last for weeks if stored properly, so you can enjoy them over time. It’s a small project with big rewards, and I always look forward to seeing what designs my kids come up with.
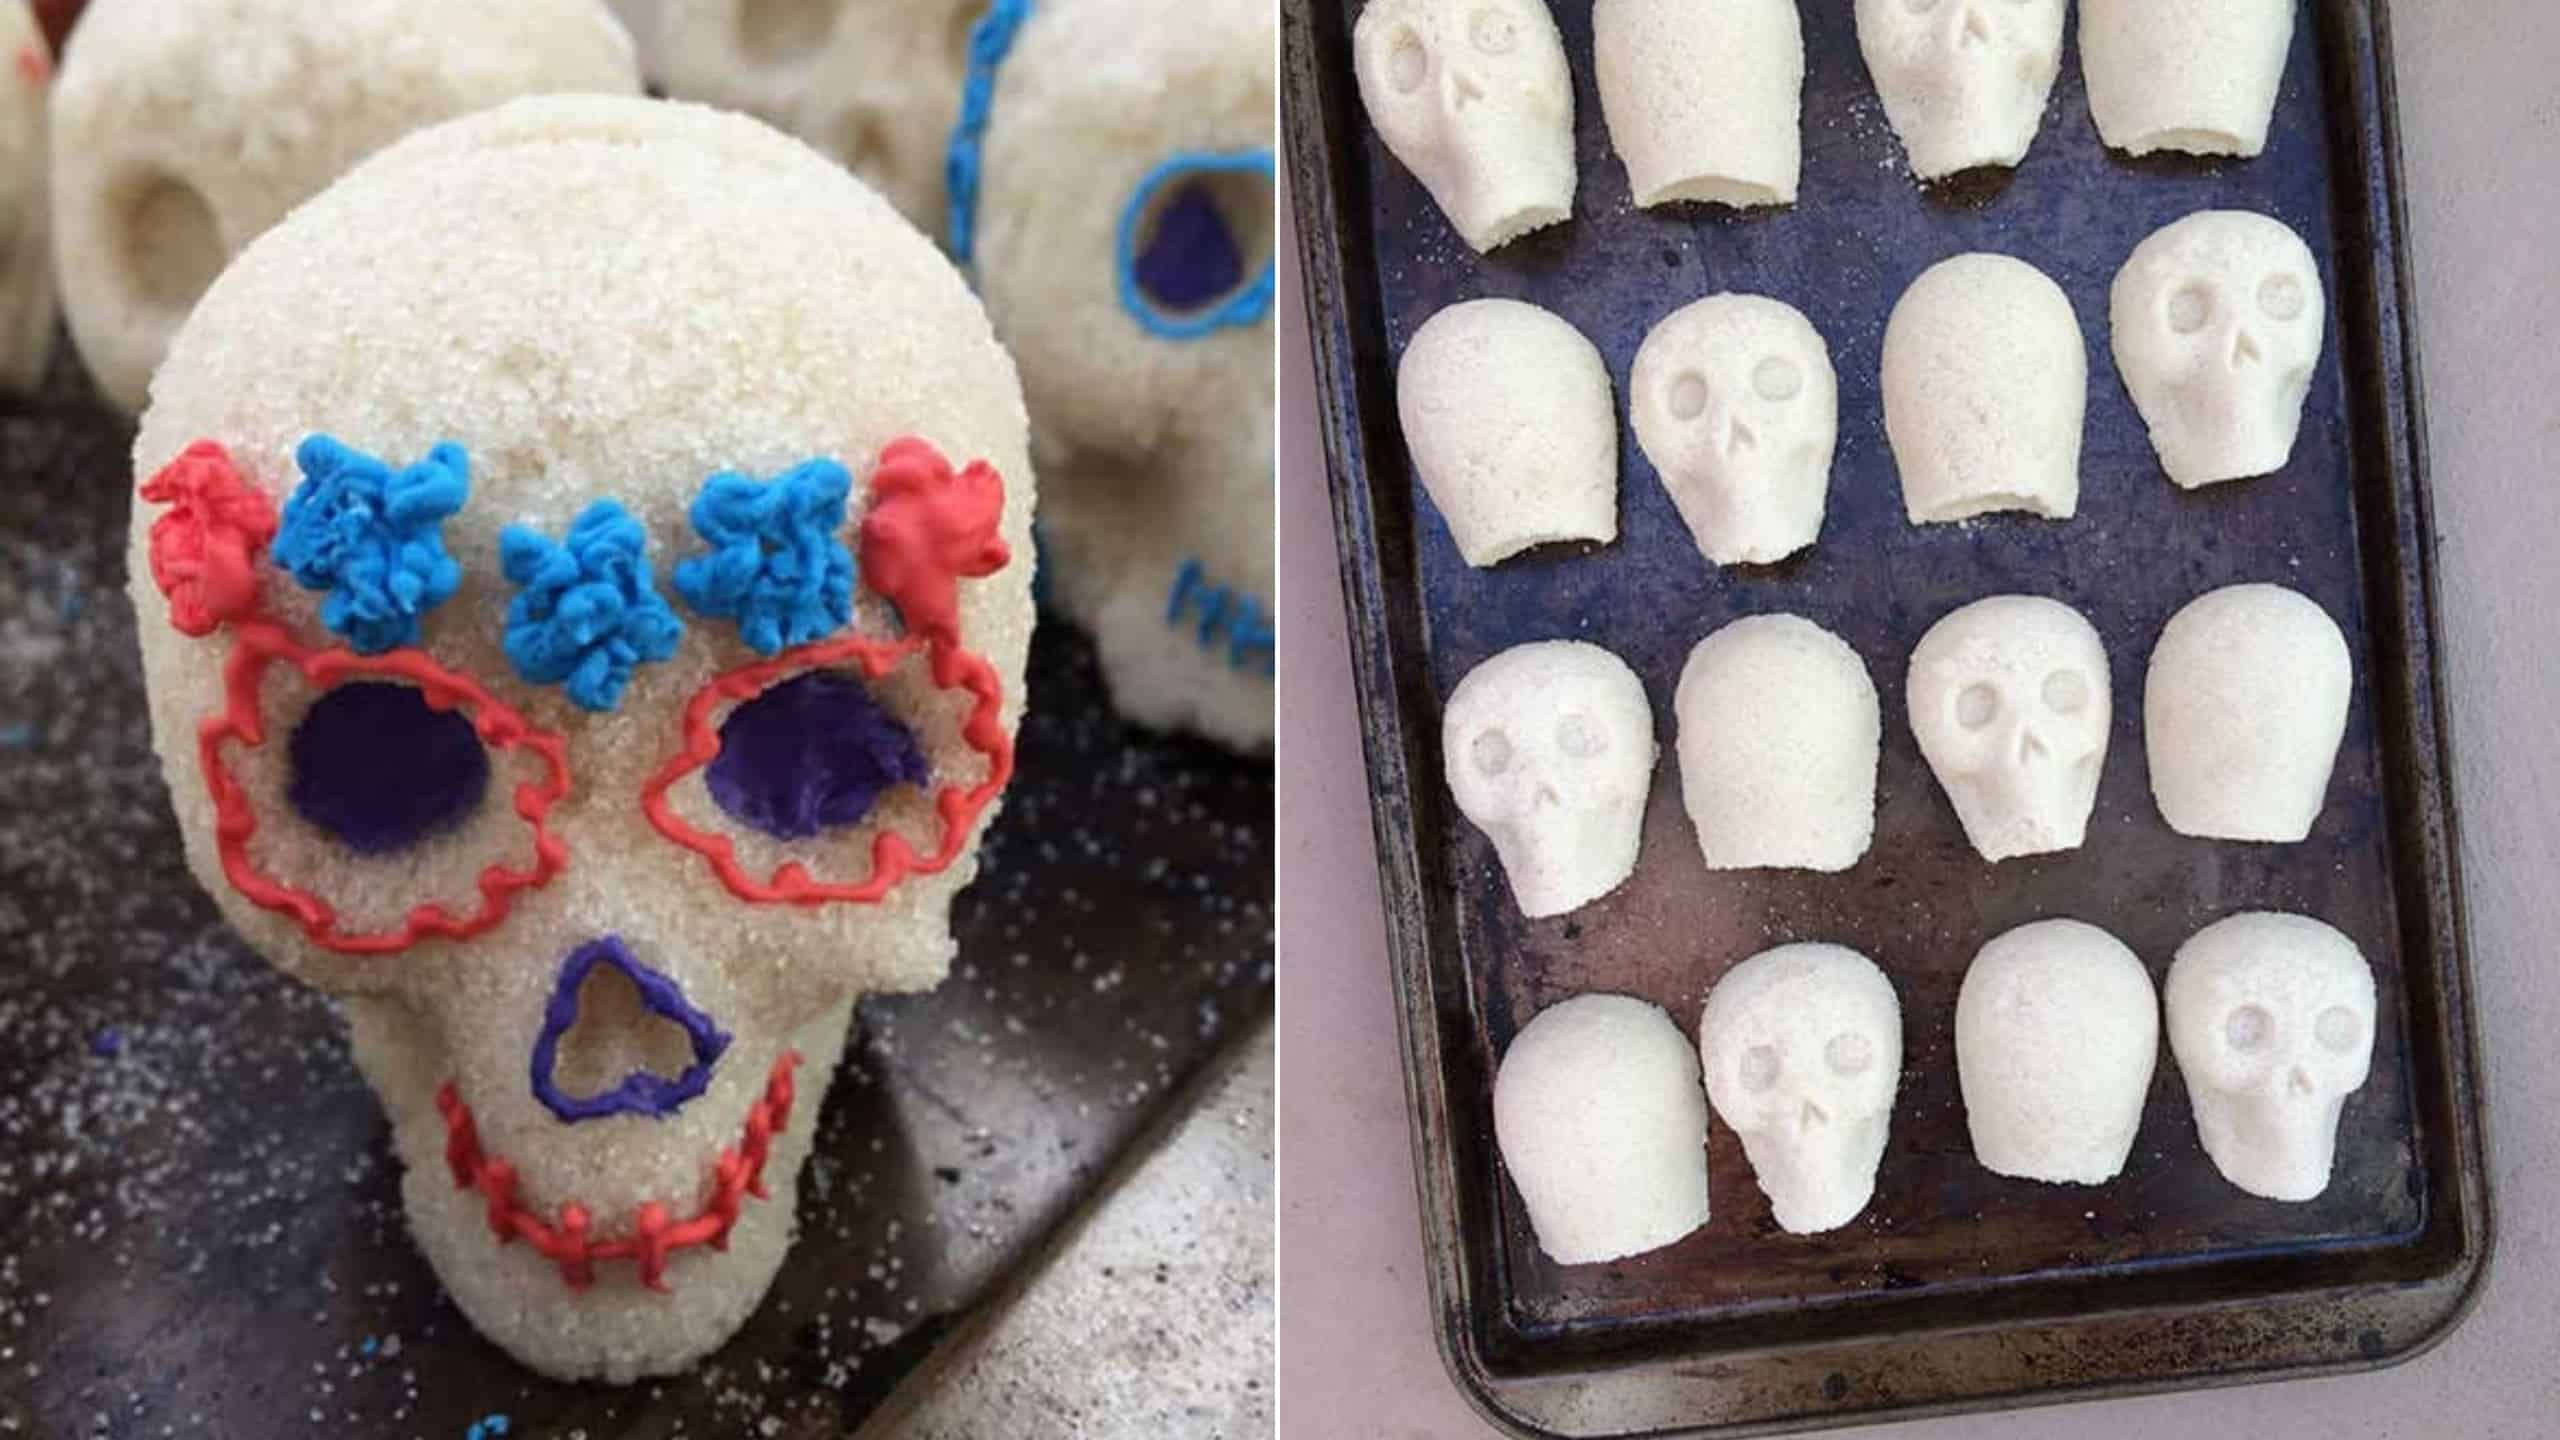
Traditional Sugar Skulls (Calaveras de Azúcar)
Colorful and decorative sugar skulls made for Día de los Muertos celebrations. These sweet treats are molded from sugar and adorned with vibrant icing, making them a festive and edible centerpiece.
🥘Ingredients
- 4 cups granulated sugar
- 4 tsp meringue powder
- 3-4 tbsp water
- 12 small skull-shaped molds (or 1 large mold)
- 2 cups powdered sugar
- 1 ½ tbsp meringue powder
- 2-3 tbsp water
- Gel food coloring (assorted colors)
- Small piping bags or squeeze bottles
👨🍳Directions
-
1
In a large mixing bowl, combine granulated sugar and meringue powder. Mix well with a fork or whisk. -
2
Add water, 1 tablespoon at a time, mixing until the sugar holds its shape when squeezed in your hand (like damp sand). -
3
Pack the sugar mixture firmly into the skull molds, pressing down to ensure it’s tightly packed. Scrape off excess sugar with a straight edge. -
4
Place a piece of parchment paper or a drying rack over the mold and flip it over to release the sugar skull. Let dry at room temperature for 4-6 hours or overnight until completely hard. -
5
For the royal icing, whisk powdered sugar, meringue powder, and water until smooth and glossy. Adjust consistency with water if needed (should be thick but pipeable). -
6
Divide icing into small bowls and tint with gel food coloring. Transfer to piping bags or squeeze bottles. -
7
Decorate the dried sugar skulls with icing, creating swirls, flowers, or names. Use toothpicks to help spread or correct mistakes. -
8
Allow the icing to dry completely (1-2 hours) before handling or displaying.
🔧Equipment
- Mixing bowl
- Fork or whisk
- Skull molds (plastic or ceramic)
- Small spoon or scoop
- Parchment paper or drying rack
- Piping bags or squeeze bottles
- Toothpicks (for detail work)
📊Nutrition Facts (per serving)
📝Notes
Watch Video Of How Traditional Sugar Skulls (Calaveras de Azúcar) Works
❓ Frequently Asked Questions About Sugar Skulls (Calaveras de Azúcar)
1. What ingredients do I need to make sugar skulls?
To make sugar skulls, you’ll need granulated sugar, meringue powder (or egg whites as a substitute), water, and powdered sugar for dusting. For decorating, you can use royal icing, food coloring, and edible decorations like sequins or sprinkles. A skull mold is also essential for shaping the sugar mixture.
2. How do I prevent my sugar skulls from cracking or breaking?
Cracking usually happens if the sugar mixture is too wet or too dry. Ensure the sugar is moist enough to hold its shape when squeezed but not so wet that it sticks to your hands. Let the skulls dry completely in the mold (at least 4–6 hours) before removing them. If they’re still fragile, let them air-dry for another day before decorating.
3. Can I make sugar skulls without a mold?
While molds are the easiest way to shape sugar skulls, you can hand-sculpt them using a firm sugar mixture. Pack the sugar tightly into a skull-like shape and let it dry. However, this method requires more skill and patience, as the skulls may not hold their shape as well.
4. How long do sugar skulls last, and can I eat them?
Sugar skulls are primarily decorative and can last for months if kept in a dry, cool place. While they are technically edible, they’re very hard and not meant to be eaten like candy. If you want edible sugar skulls, consider using a softer icing or fondant for a more palatable version.
5. What’s the best way to decorate sugar skulls?
Royal icing is the most common decoration for sugar skulls because it hardens and sticks well. Use piping bags with small tips to create intricate designs, or spread the icing with a spatula for a smoother look. Food coloring can be added to the icing for vibrant colors, and edible glitter or sequins can add extra sparkle. Let the decorations dry completely before handling.